
Blog > How to Choose Hardwood Stain Color: A Simple Home Lighting Test
Friday, February 27, 2026
How to Choose Hardwood Stain Color: A Simple Home Lighting Test
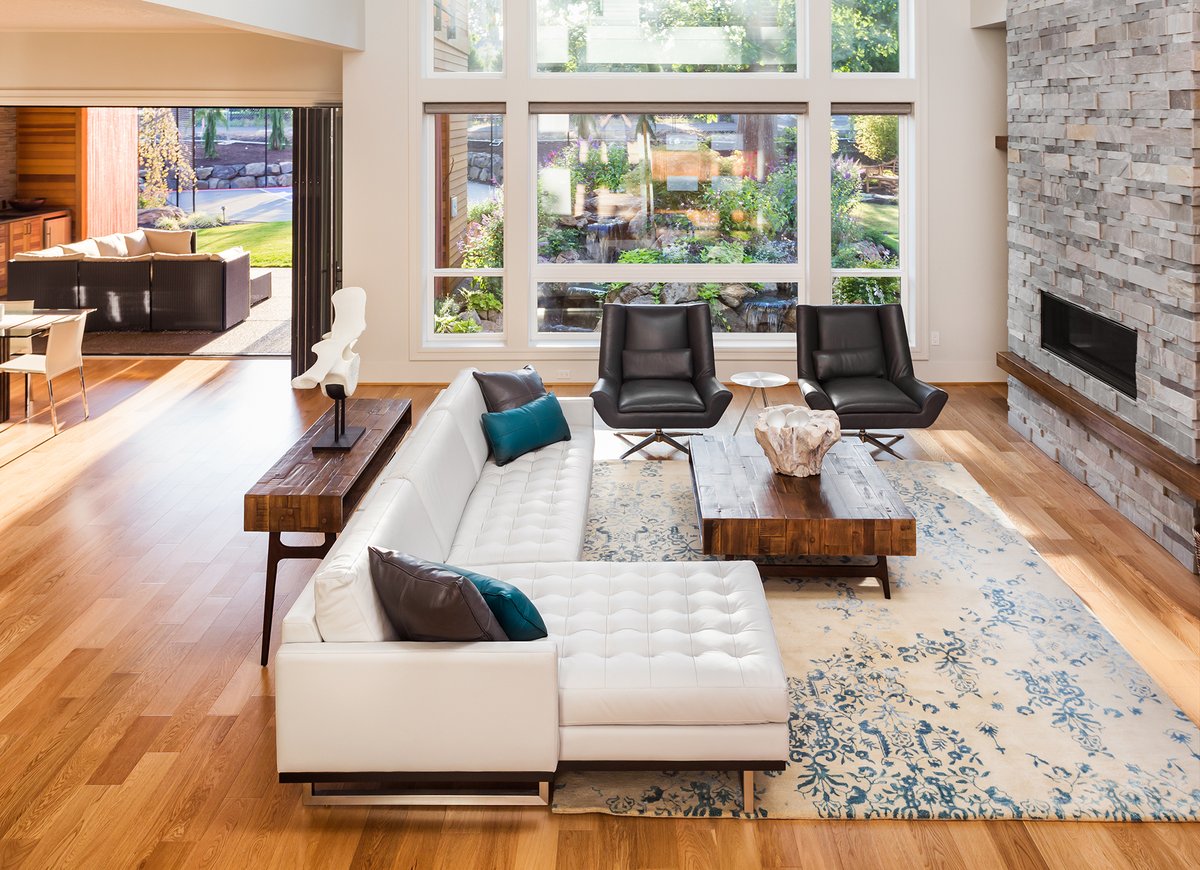
Stain color regret rarely happens in the showroom. It happens at home, at 9:47 PM, when your “warm neutral” suddenly looks orange under lamps… or your “modern greige” turns flat and cold in daylight. The fix is not guessing. It’s testing stain the way pros do, under your actual lighting. If you’re working with CSM Flooring and visiting Greensboro, NC, Wilmington, NC, and Whitsett, NC, use this guide to narrow choices fast and lock a color that stays beautiful across morning sun, evening lamps, and everything in between.
Step 1: Identify Your Wood Species and Its Natural Undertone
Different species carry different built-in color chemistry:
- Red oak tends to pull warmer/pinker.
- White oak often reads more neutral and contemporary.
- Other species can lean yellow, amber, or brown depending on grain and age.
Why it matters: Stain is transparent. It mixes with the wood’s base tone. So the same stain name can look totally different across species.
Technical action: Before choosing stain, confirm:
- species
- whether it’s solid or engineered
- whether you’re staining site-finished or choosing a prefinished color line
Step 2: Run the “Lighting Temperature” Check
Most homes have multiple light temperatures:
- Warm bulbs: ~2700K–3000K (makes wood look warmer)
- Neutral: ~3500K
- Cool/daylight: ~4000K–5000K (can make wood look cooler/gray)
Hot take: Many “gray” stains look great under cool lights and lifeless under warm lights. Meanwhile, many “warm neutral” stains look perfect in daylight and too orange at night.
Technical action: Write down:
- your bulb temps in main living areas (or at least “warm vs cool”)
- where lamps sit (lamp light hits floors differently than ceiling cans)
Step 3: Check Daylight Direction (North/South/East/West)
Natural light is not neutral. It has a “personality.”
- North-facing light: cooler, more consistent, can emphasize gray.
- South-facing light: warmer, brighter, can intensify warm tones.
- East light: bright morning, cooler midday.
- West light: golden evening, can warm up everything.
Technical action: Note which rooms get strong sun and when. Your stain should work in your “worst-case” lighting, not just the best moment.
Step 4: Choose Your Target Look Using Undertone Logic
Ignore stain names. Use undertones:
- Want modern + calm? Usually neutral to slightly warm undertones perform best long-term.
- Want cozy + traditional? Go warm browns but avoid yellow-heavy bases in lamp-heavy rooms.
- Want minimal + airy? Light neutrals can work, but need careful testing to avoid “washed out.”
Night-Google intent tip: If your home has warm bulbs and beige walls, ultra-gray stains can feel cold. If your home is cool-toned (whites, grays, 4000K lights), very warm stains can look dated fast.
Step 5: Use the Real Home Test
If you’re staining site-finished hardwood, this is the practical protocol:
- Pick 3 finalists (not 12).
- Test them on the actual floor (or a sanded sample from the same wood).
- Apply each stain in at least 2 coats if that’s the planned system.
- Label each test patch clearly.
- View in 4 conditions:
- bright daylight
- cloudy daylight
- evening with lamps
- night with only overheads
Technical rule: Don’t test stain on raw scraps that aren’t from your floor species and milling. It will mislead you.
Step 6: Decide Sheen Before You Lock Color
Sheen affects:
- glare
- how “clean” a floor looks
- how much texture and dust you see
- how deep the color reads
In open concept spaces with lots of windows, high sheen can exaggerate reflection and show micro-scratches.
Practical guidance: If you want easier day-to-day appearance maintenance, low sheen often reads more “designer” and less fussy.
Step 7: Confirm With Your Wall Color + Textile Plan
Floors don’t live alone. Your stain interacts with:
- paint undertones (warm vs cool whites)
- rugs (warm patterns can pull warmth; cool rugs can flatten warmth)
- wood furniture (matching or intentional contrast)
Technical action: Hold your top stain options next to:
- a wall sample or paint chip
- your main rug sample
- a cabinet or counter sample (if open concept)
The fastest way to choose the right hardwood stain isn’t guessing, it’s a controlled test: confirm species undertone, evaluate Kelvin lighting, check daylight direction, test 3 finalists on your actual floor, then lock sheen and finish. If you want help narrowing options and getting your stain choice right the first time, visit or contact CSM Flooring. We serve Greensboro, NC, Wilmington, NC and Whitsett, NC and can guide you from sample selection to a final finish that looks great in real life, not just showroom light.